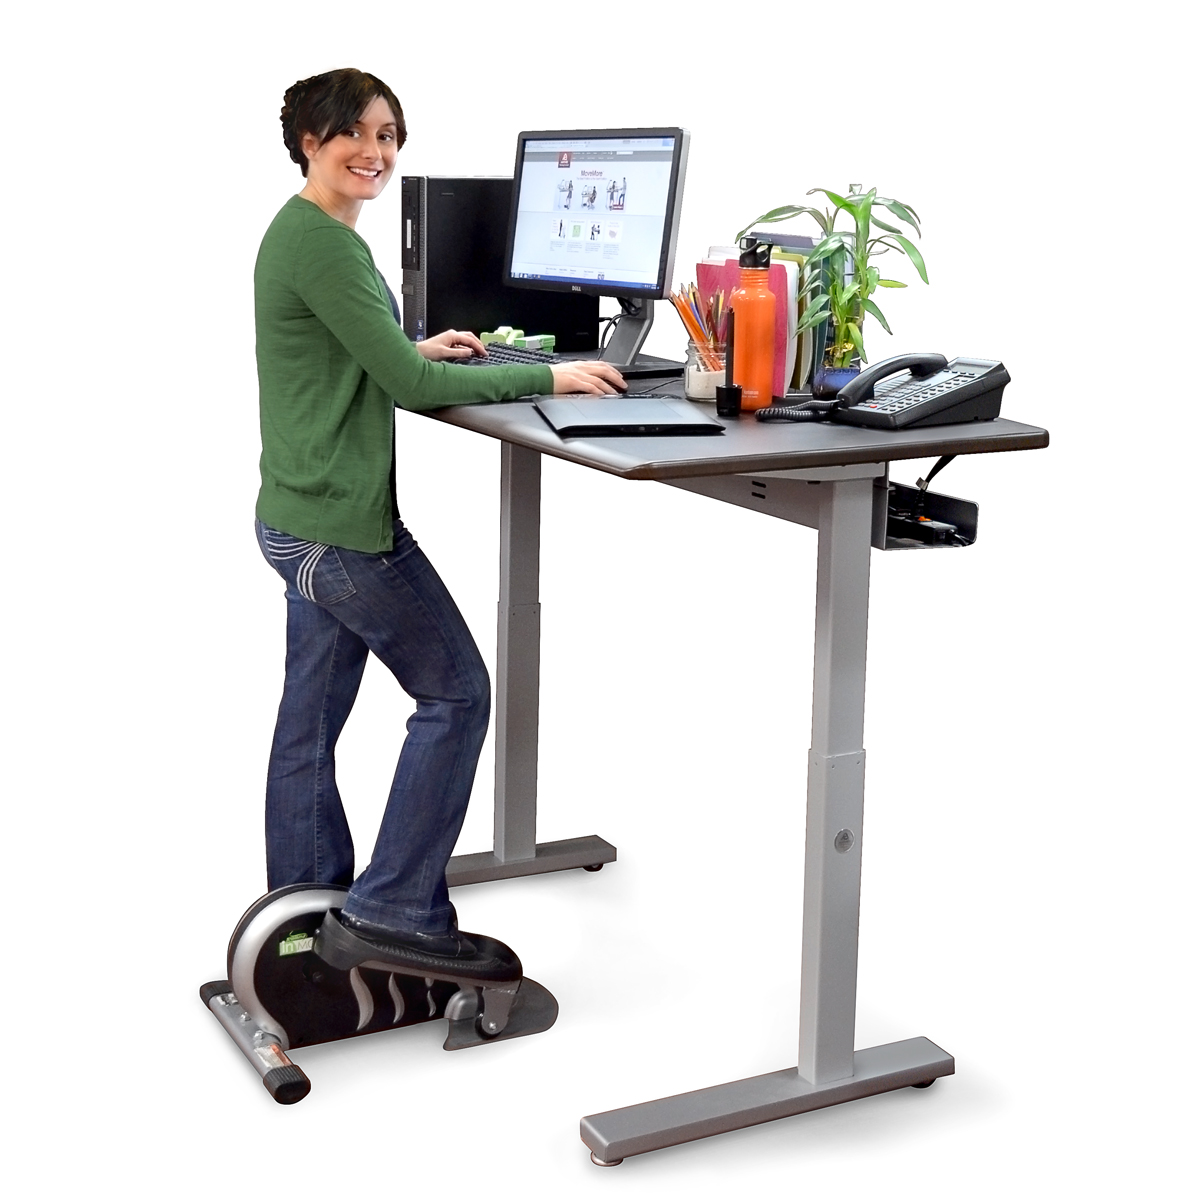
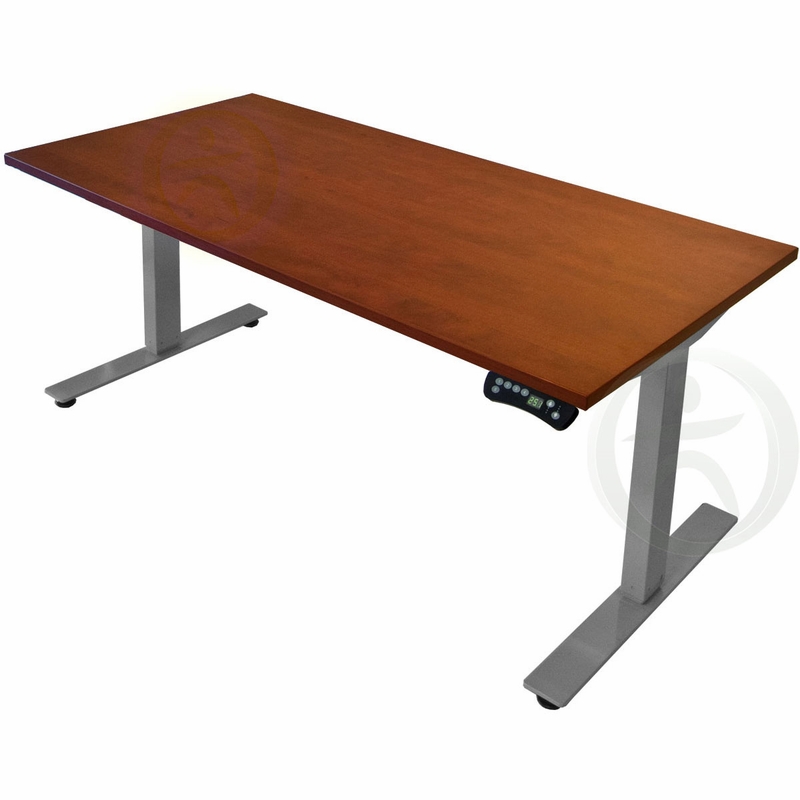
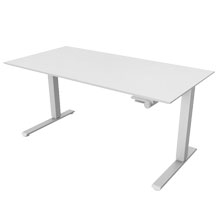

First I reveiwed the stand-up desk industry:
| Desk | Capacity | Height | Image |
|---|---|---|---|
| Linak | not sure | not sure |
|
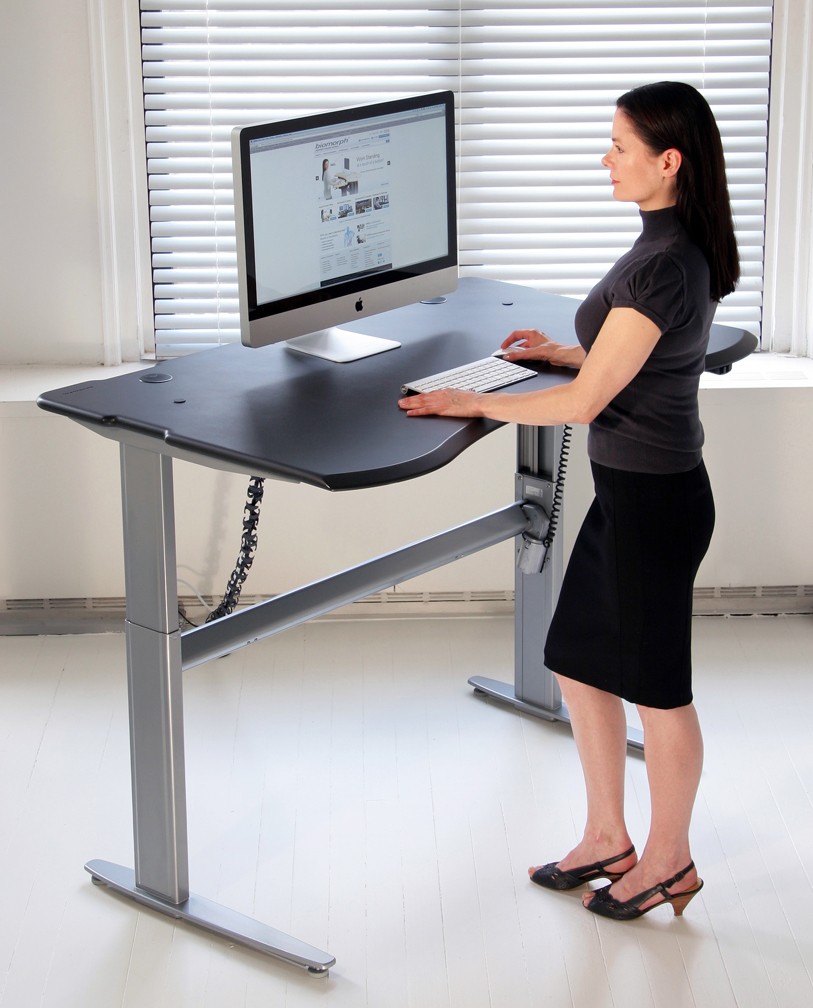
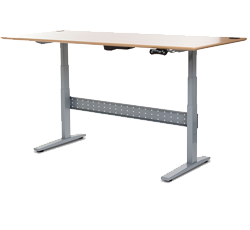
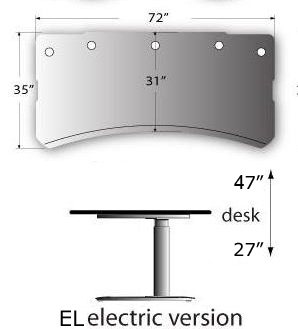
| biomorph level2 EL2 | 260 lbs | 26-53" | |
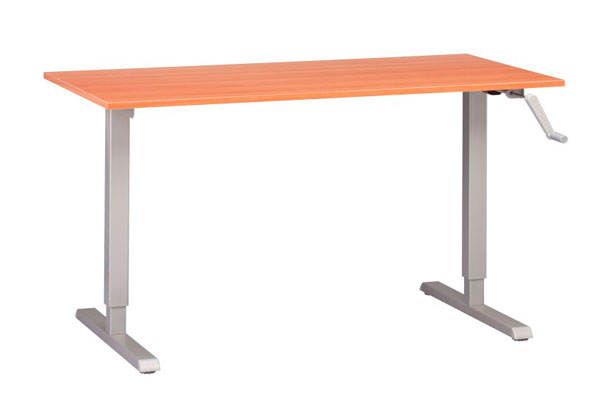
| MultiTable | 130 lbs | 27-47 | |
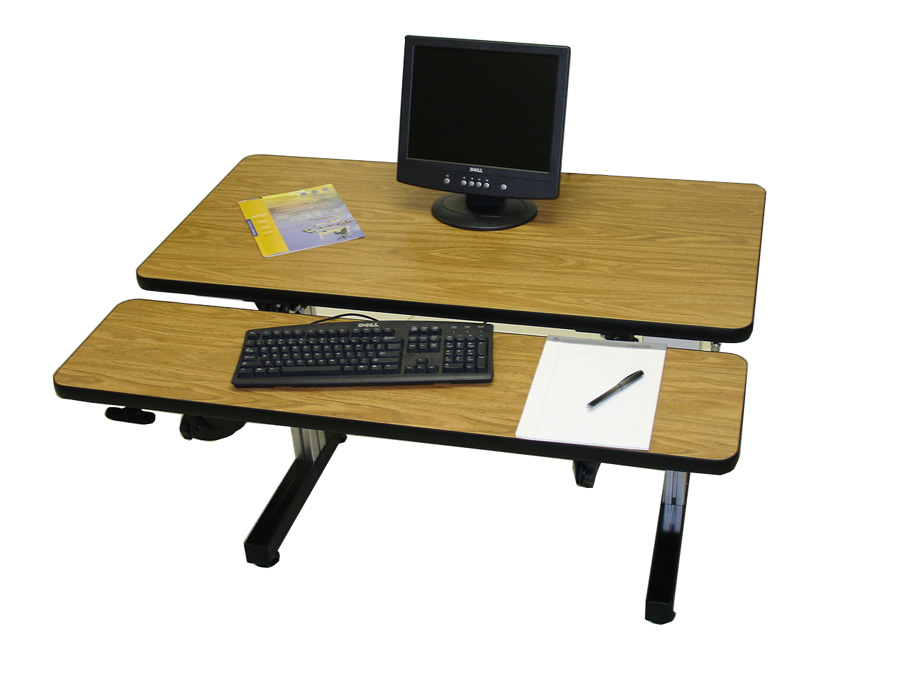
| Ergonomic Dual Surface | 500 lbs | 26-40" | |
| GeekDesk Max | 335 lbs | 23-49" | |
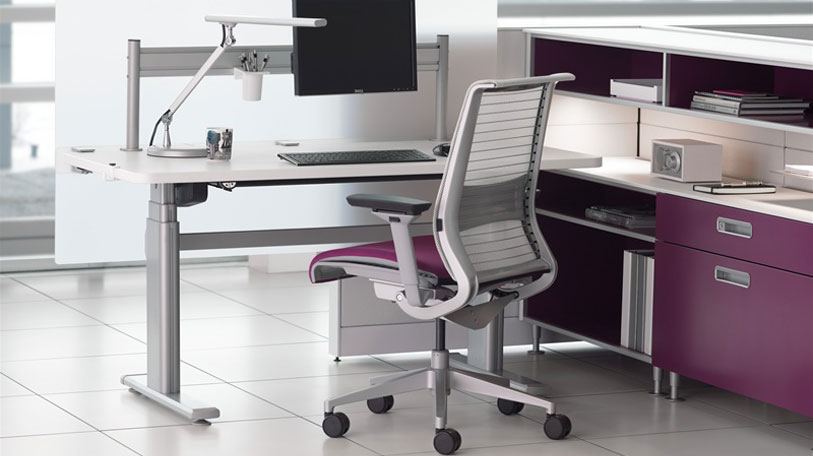
| Steelcase Series 5 | 220 lbs | 25-52" | |
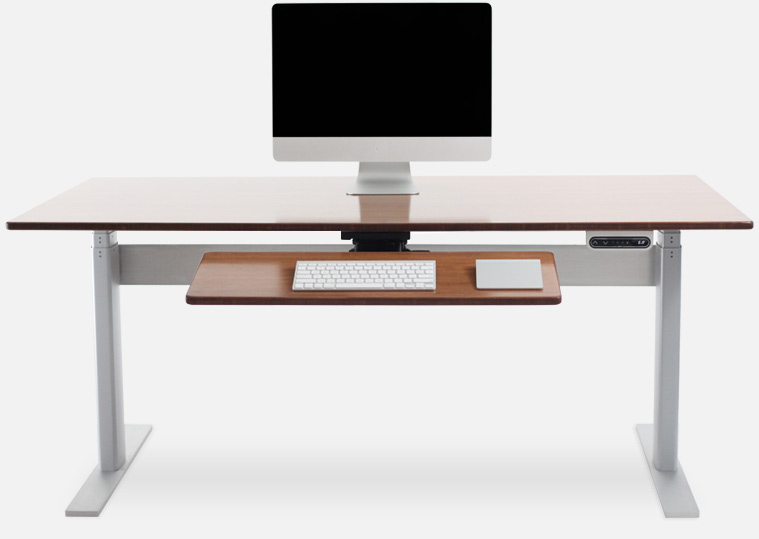
| NextDesk Tara | 315 lbs | 24-50" | |
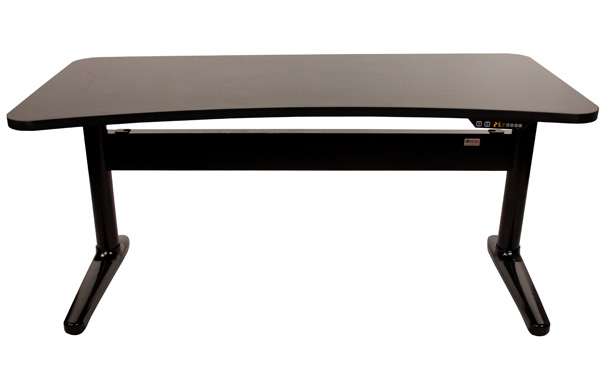
| UpDesk | 300 lbs | 26-42" | |
| Anthro Elevate II | 150 lbs | 28-47" | |
| Human Solution UpLift 900 | 335 lbs | 24-50" | |
| Humanscale Float | 130 lbs | 27-47” | |
| Area | Details | ||||||||||||||||||
|---|---|---|---|---|---|---|---|---|---|---|---|---|---|---|---|---|---|---|---|
| Reference: |
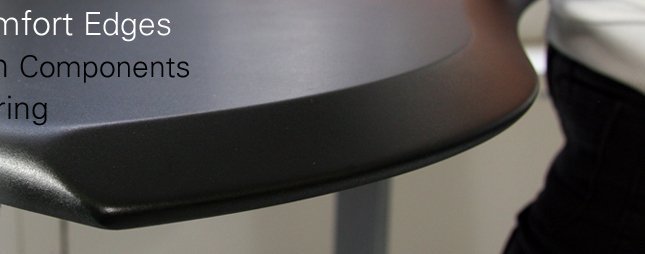
Biomorph uses furniture grade blond Maple plywood. Edges are bullnosed and chamfered reveal facing the user. Finish is a baked-on catalyzed clear lacquer, semi-matte, non-glare finish Thickness is 3/4" or 1". Legs use linear actuators, sometimes from Linak. Shape: 72" x 35"-31" |
||||||||||||||||||
| Design: |
|
||||||||||||||||||
| Wood: |
I wanted a 4x8 Sheet of maple blond, 3/4" or 1", A1, bookmatched, plain-sliced, Veneer Core MacBeth Hard Wood in Berkeley only carries Appleply Maple, 3/4", C3, rotary cut for $111.90. They will order A1 if I buy 10 sheets. I bought it, but would not do it again. Moore Newton in San Leandro is who I would use next time. |
||||||||||||||||||
| Edge: |
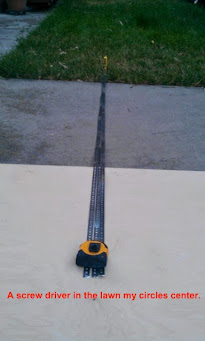
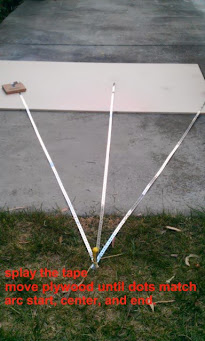
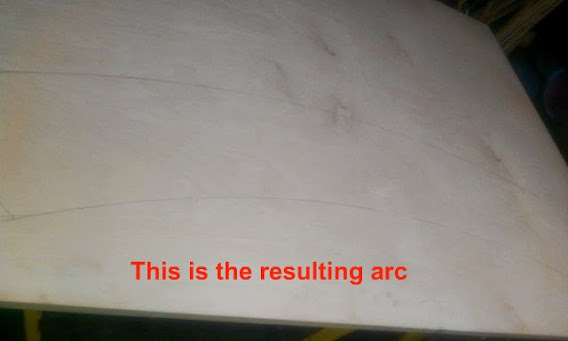
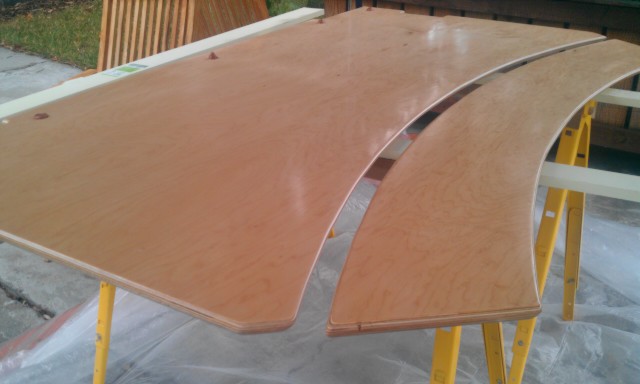
First draw lines and arch. For the arc I had to be creative: |
||||||||||||||||||
| Finish: |
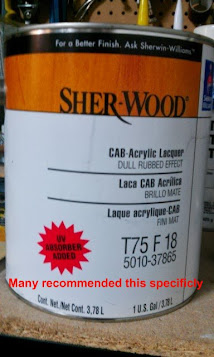
This step took the most time and effort. 2 gallons Sherwin Williams Pre-cat CAB Acrylic Lacquer CC-F23 (Dull Rubbed Effect, Part Number T75F18) Benefit: durable, water white, less toxic off-gassing |
||||||||||||||||||
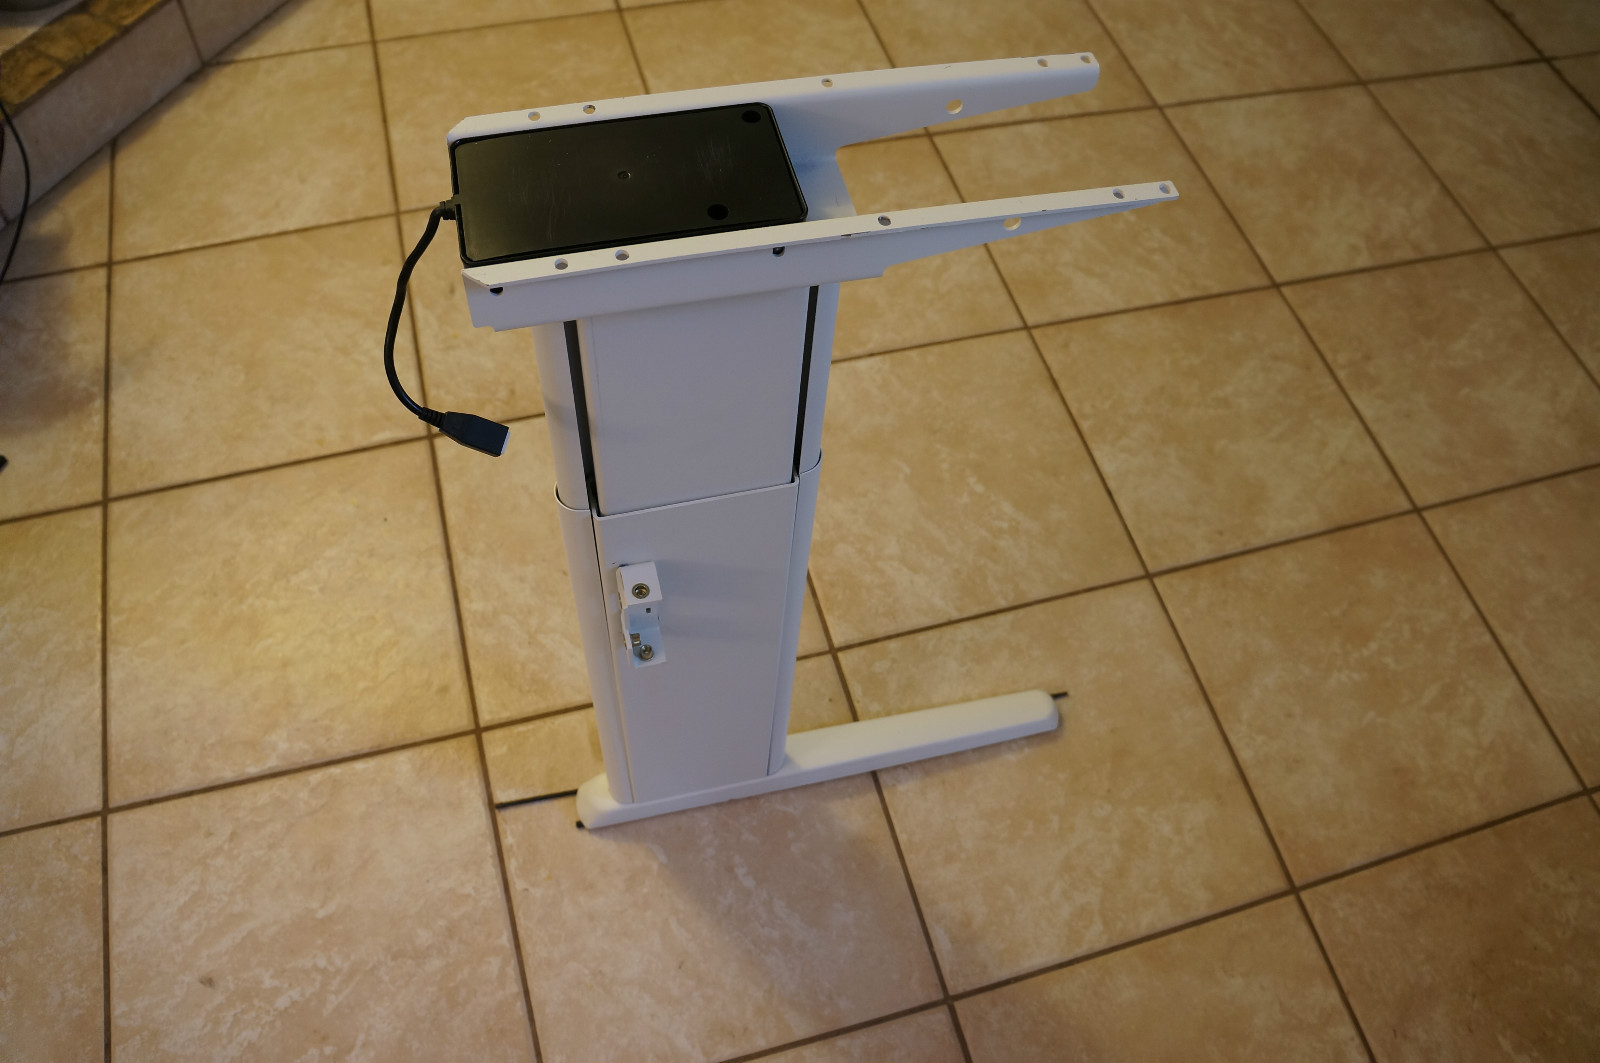
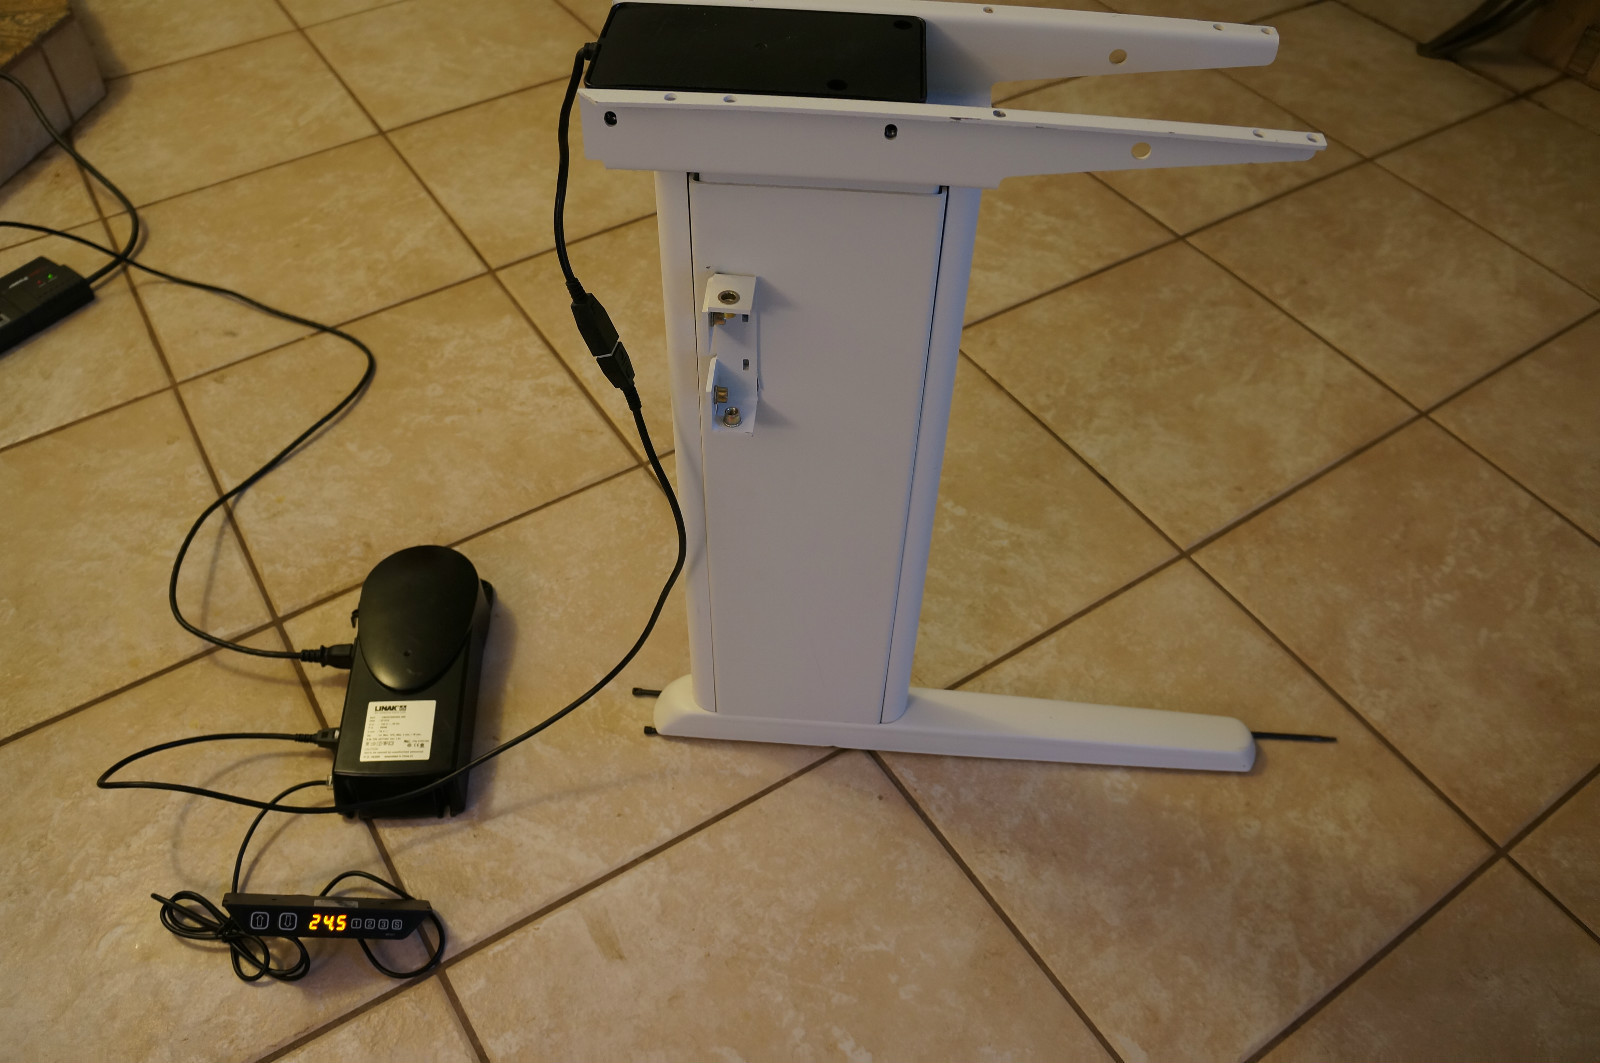
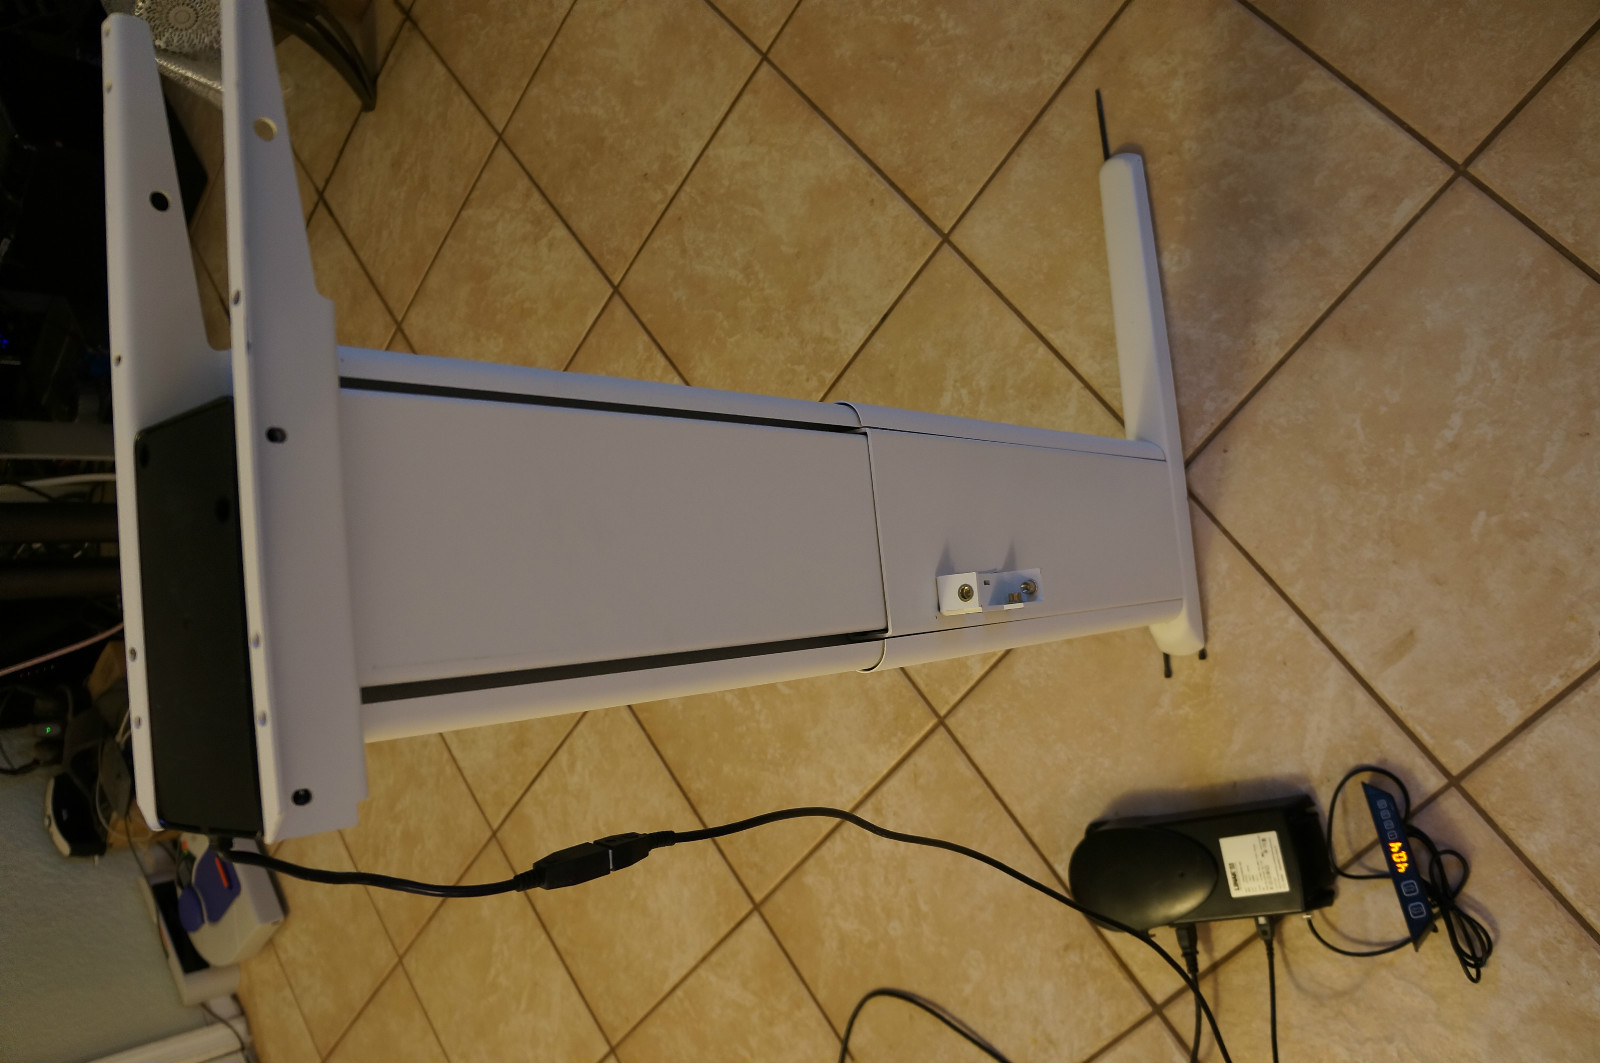
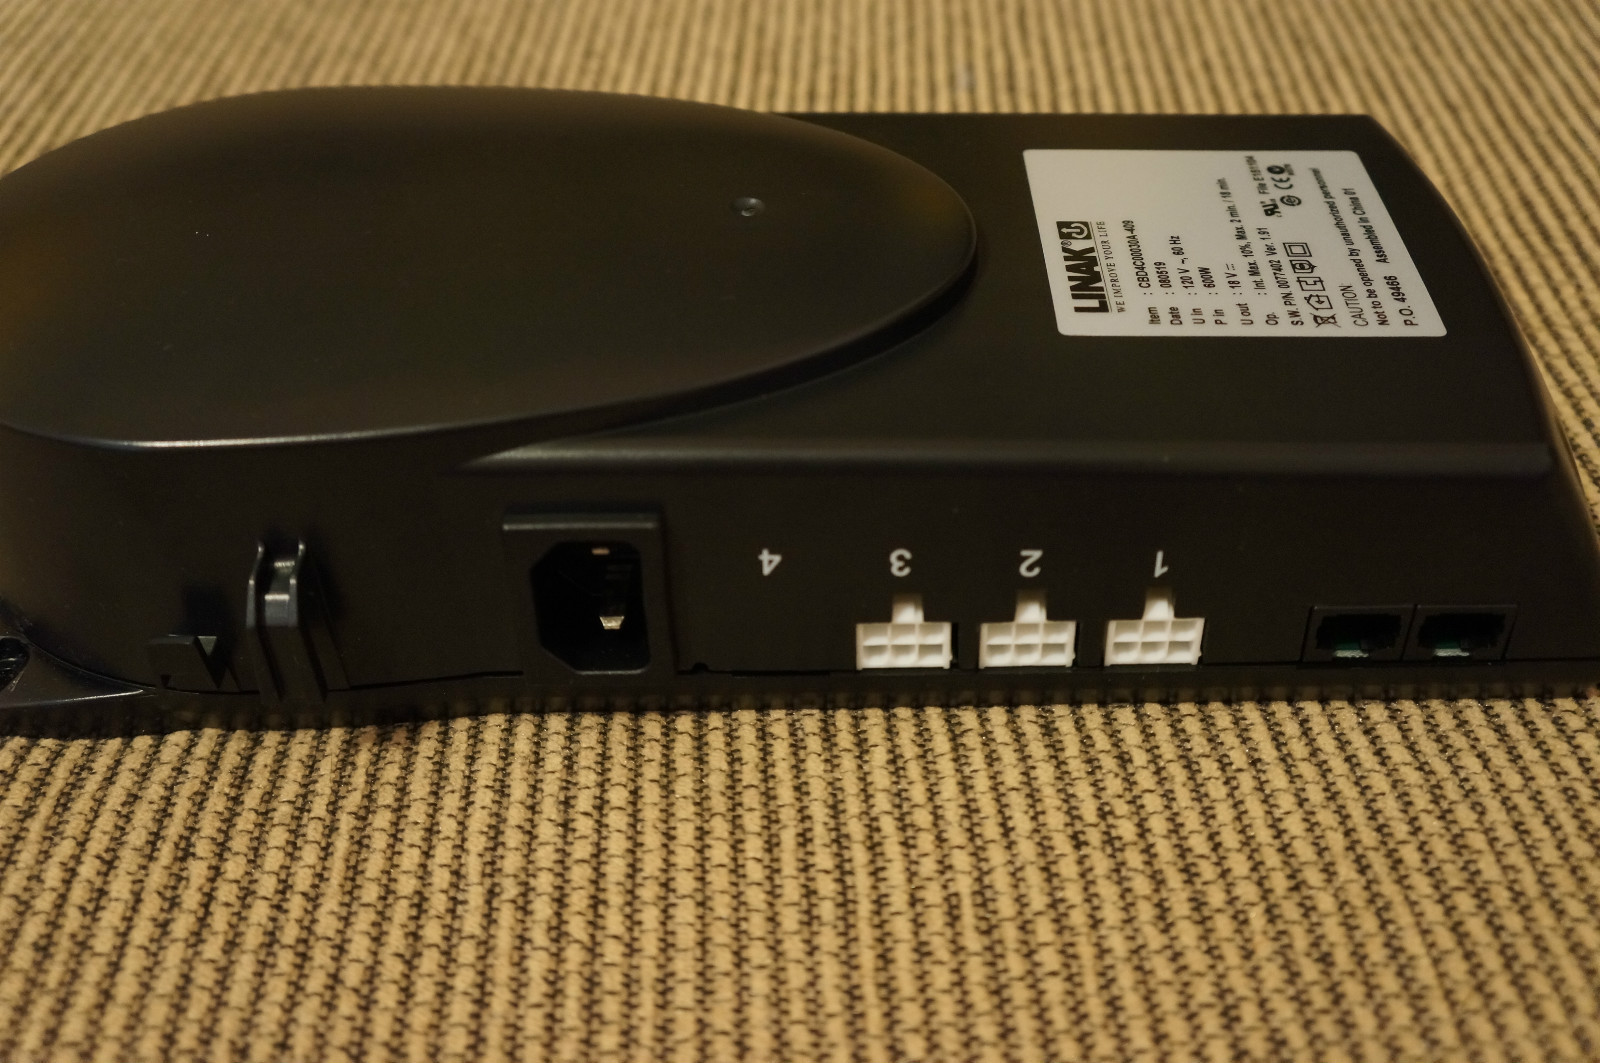
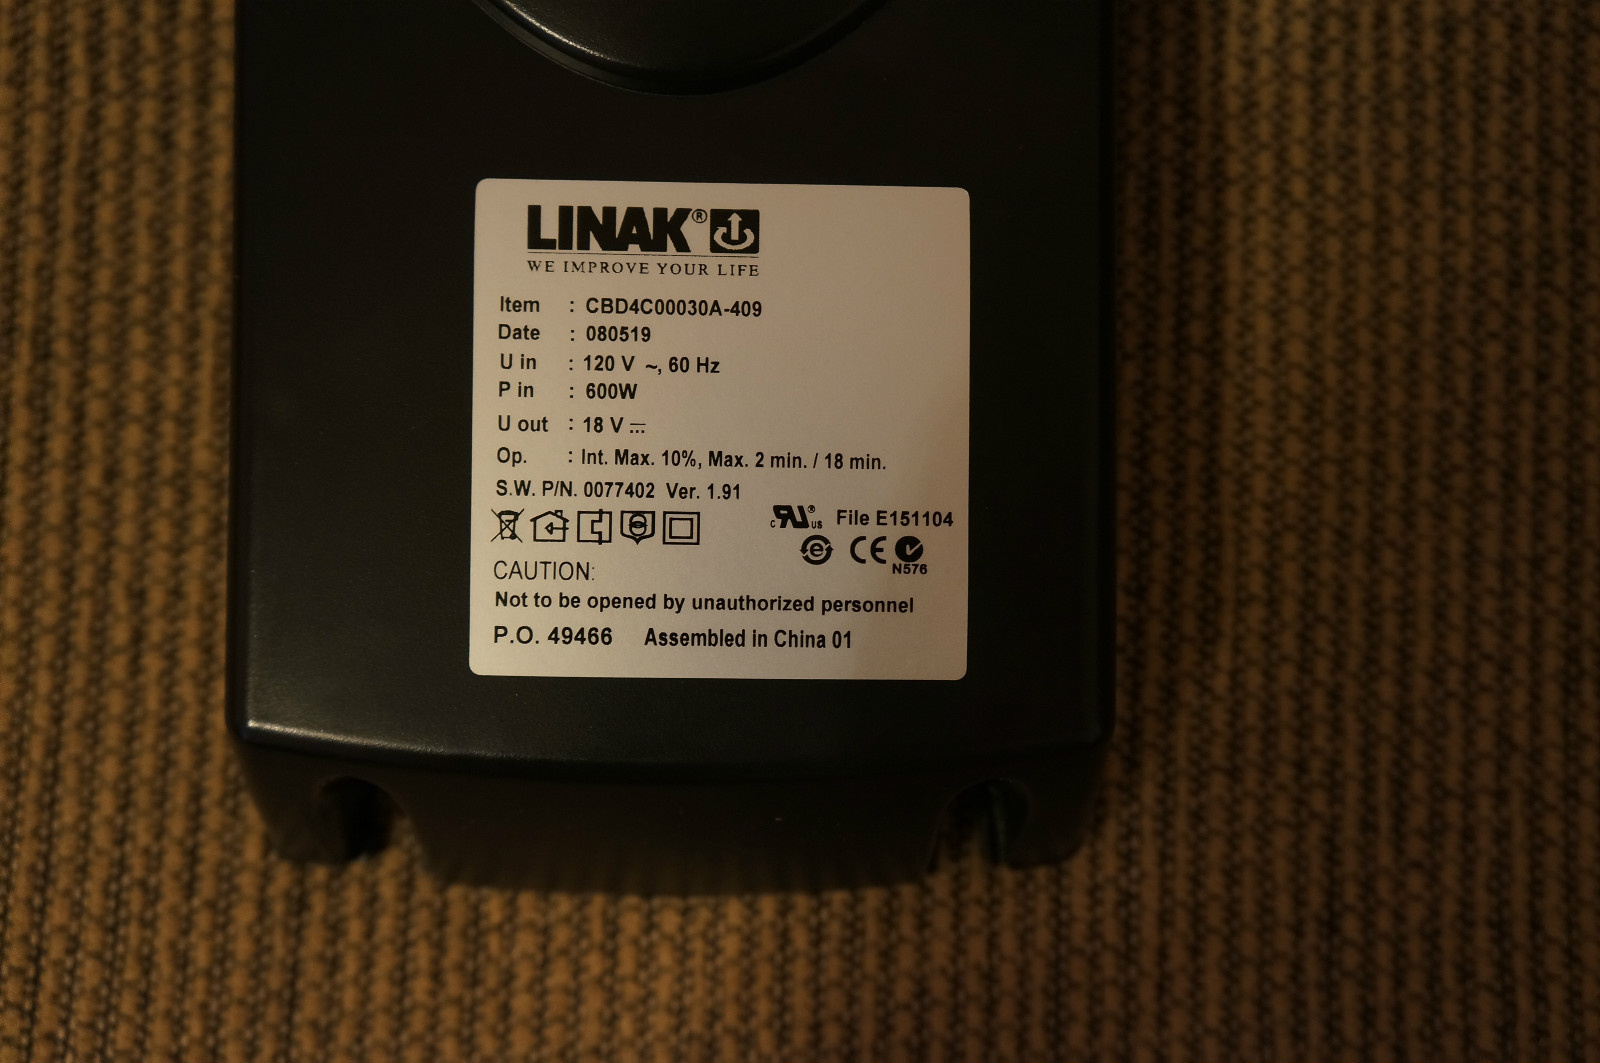
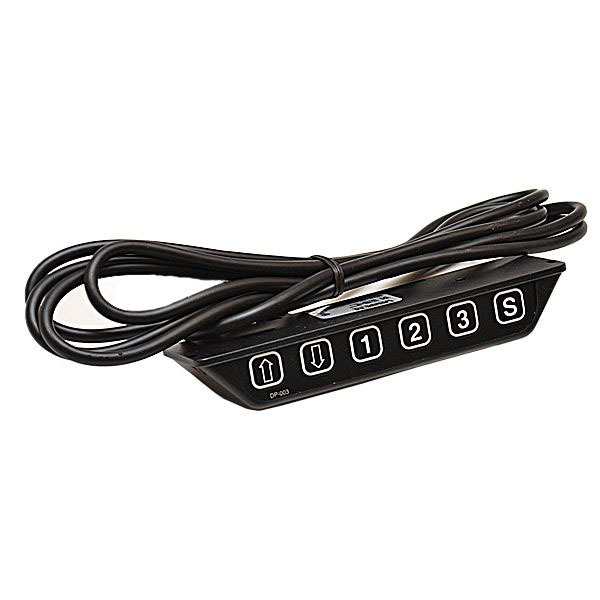
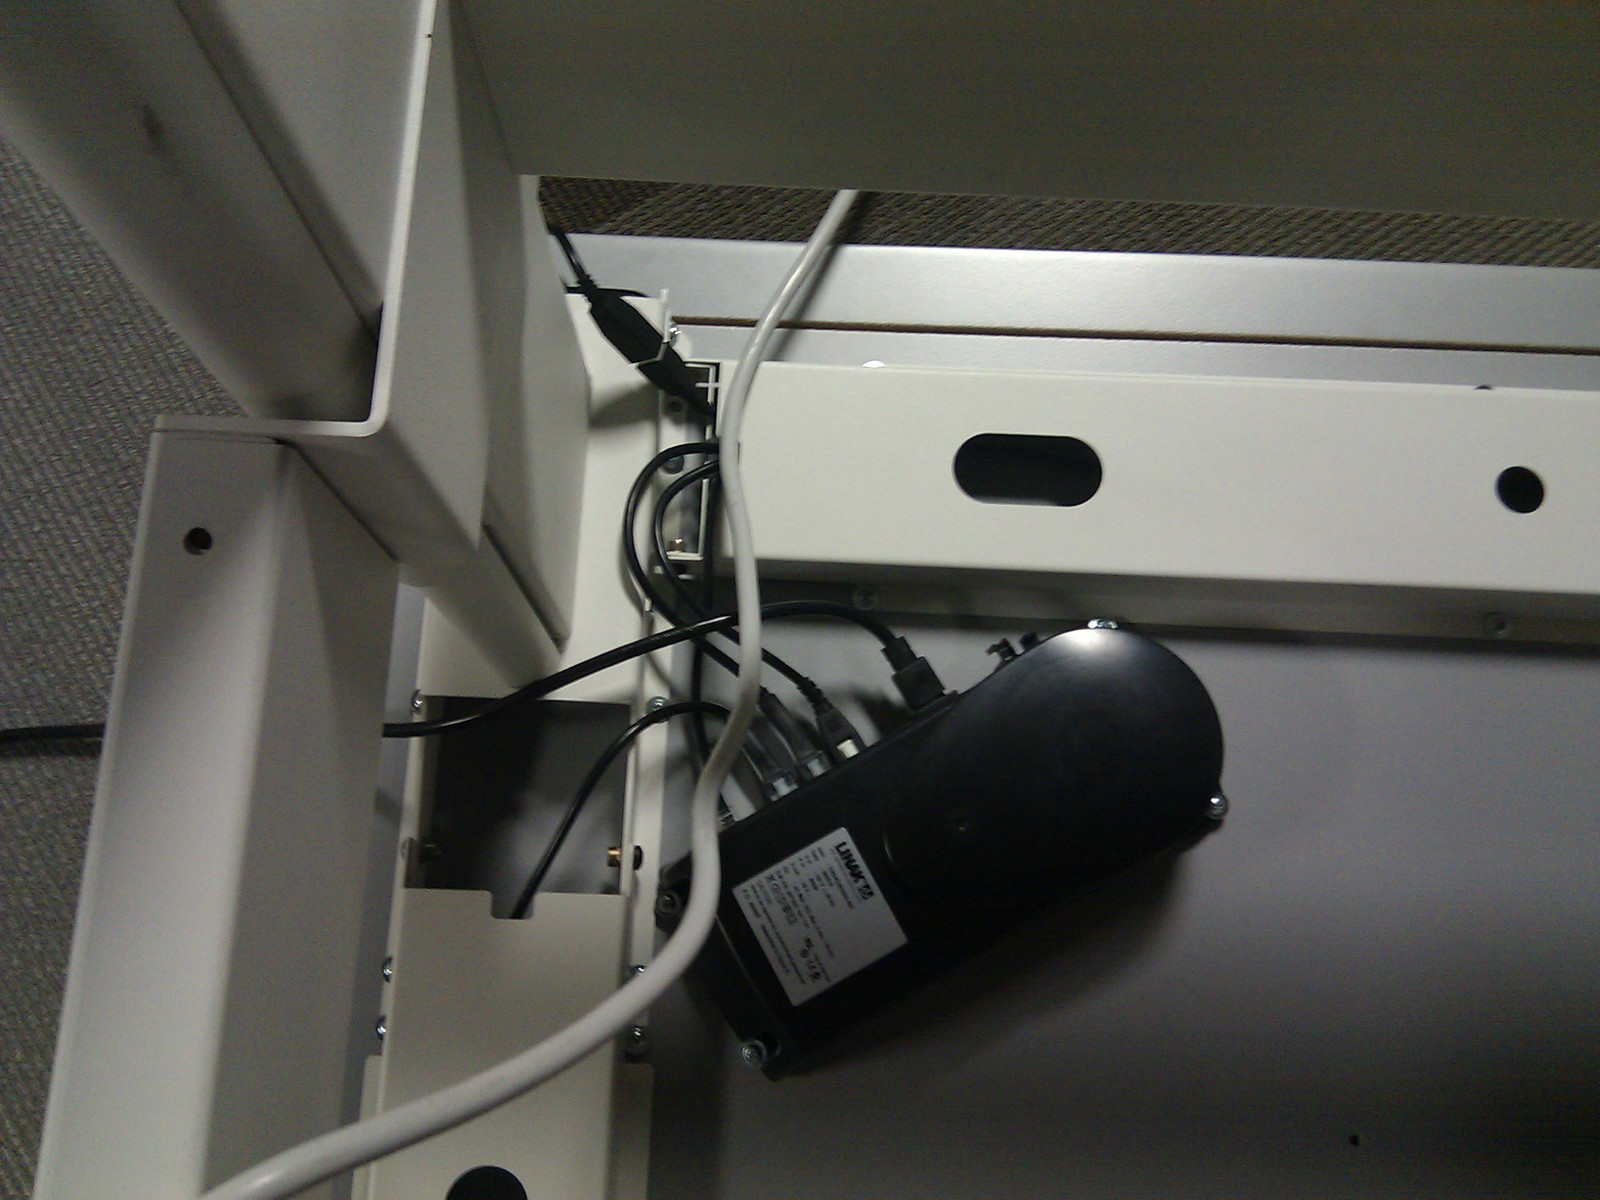
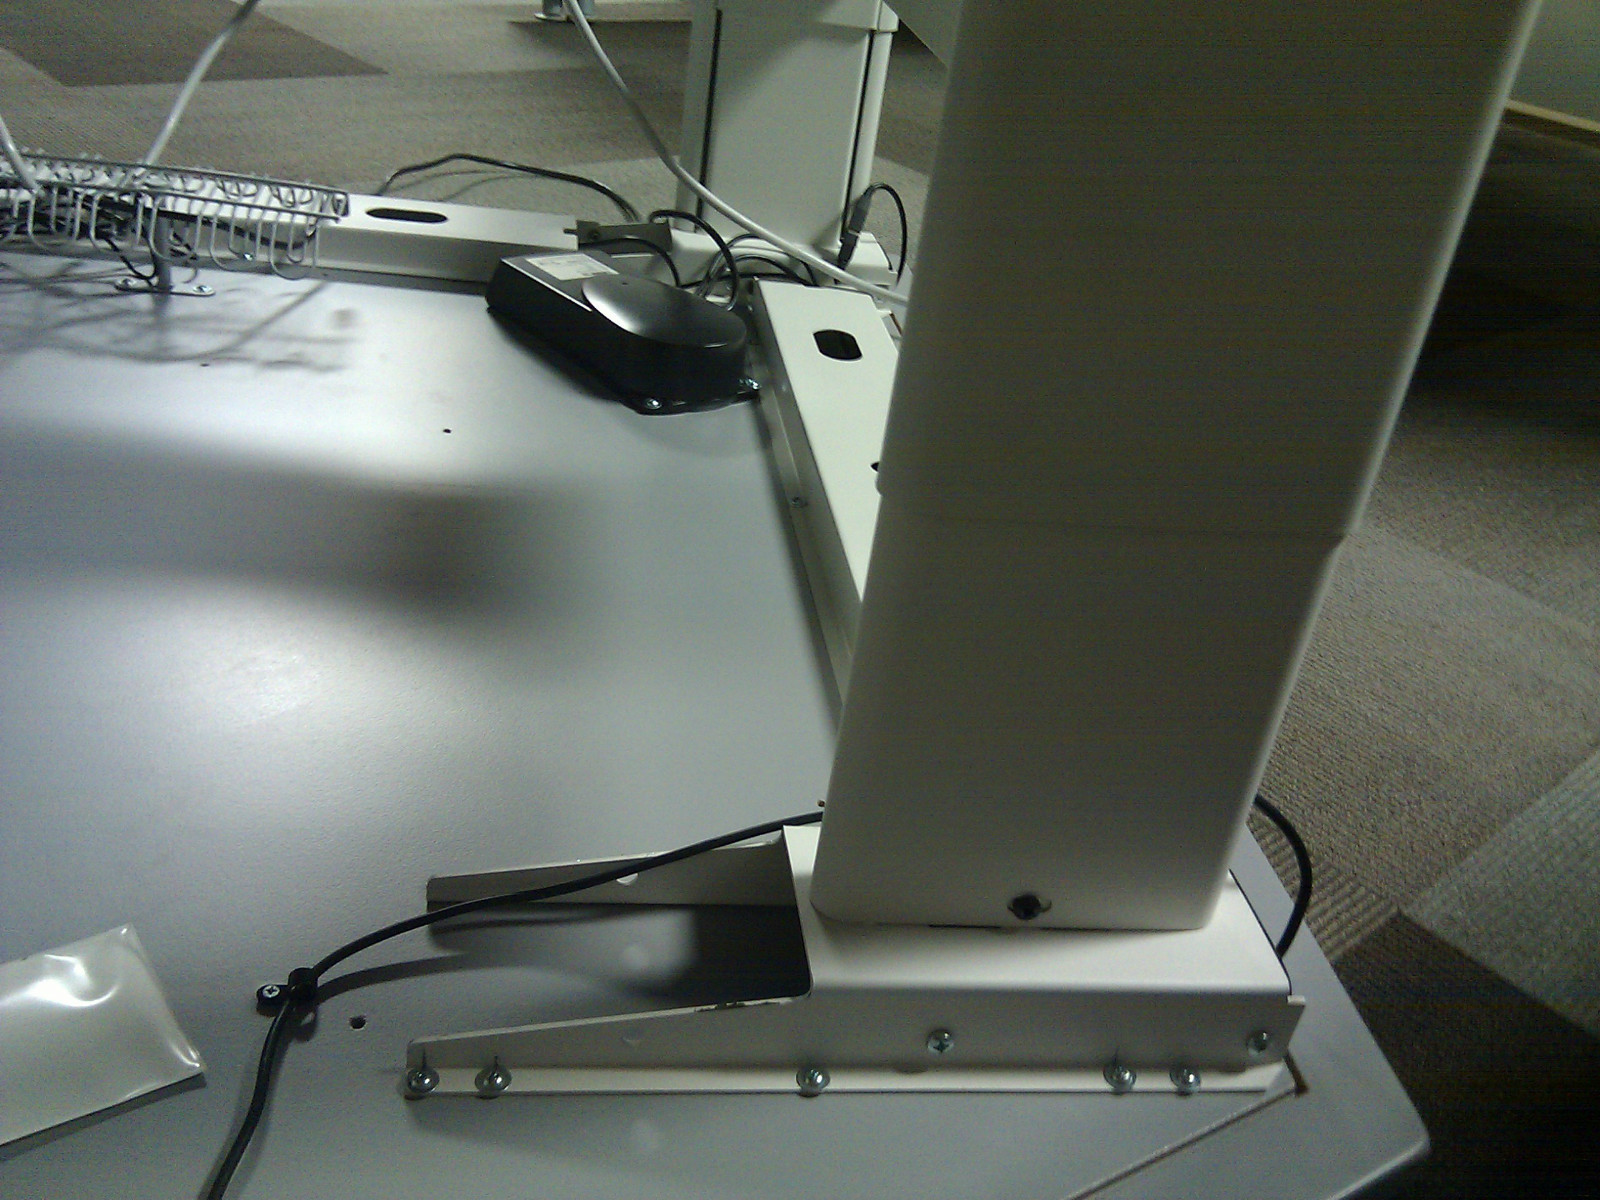
| Legs: | Linak Deskline Lifting Column Linear Actuator I found the parts on ebay ($546 + $139 shipping) Distance between legs: 54" Height 25.5" to 41.5"
|
||||||||||||||||||
| Keyboard Arm: |
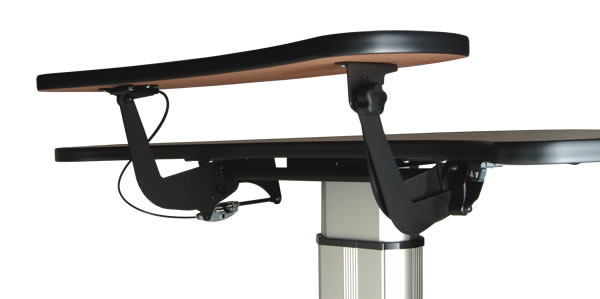
Gemini Arm Slide Kit 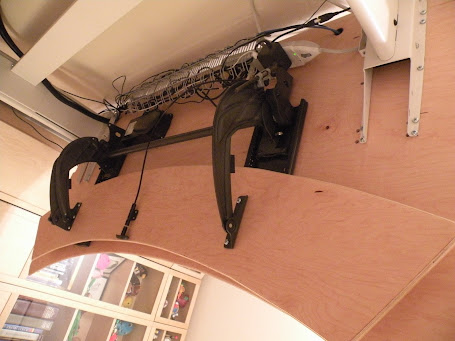
|
||||||||||||||||||
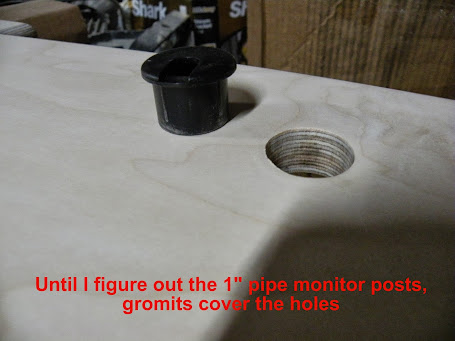
| Hole Grommits: |
1" Black Desk Grommet
|
||||||||||||||||||
| Attach legs to top: |
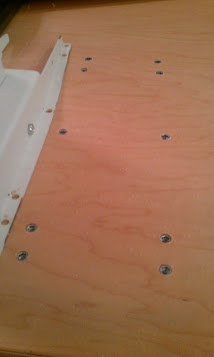
1/4-20 threaded inserts
20x for the legs
16x keyboard tray
|
||||||||||||||||||
| Chairs |
Researching Sit Stand Chairs, Stools, Ball Chairs, Drafting Chairs - Capisco Chair kinda expensive - Humanscale but need back support - Ergon 3 Drafting Chair - Office Master WS15 Sit to Stand Work Stool - Herman Miller is just a ridiculous cost. Diffrient World Humanscale Berkeley Outlet is awesome when they have stuff, but not the days I went. 181.61 - Safco Metro Drafting Chair (heigh range 23" to 33") 116.97 - Boss Drafting Chair in Blue - B1690-BE (heigh range 26"-31") 186.88 - Safco Vue Extended Height Mesh Chair Item#: HN-SPC730 (heigh range 23" to 33") 199.00 - EUROTECH Apollo Mesh Back Drafting Stool (heigh range 22-1/2-30") Finaly: from Craigslist, a $50.00 Harwick Ergonomic Adjustable Drafting Chair Model 6058C-D |
||||||||||||||||||
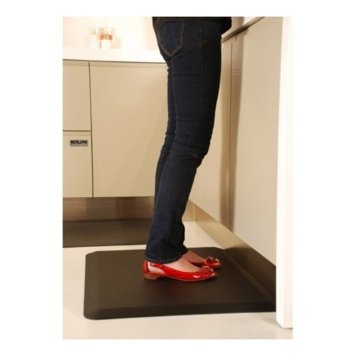
| Standing Mat |
WellnessMats Original Anti-Fatigue Floor Mat
|
||||||||||||||||||
| Power |
Belkin BV112234-10 3996 Joule 12 Outlet Surge Protector with 10ft Cord
mounted under desk 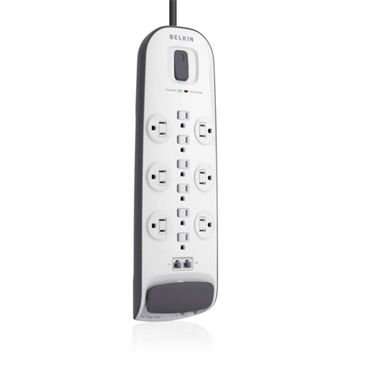
|
||||||||||||||||||
| Speakers |
Klipsch ProMedia GMX 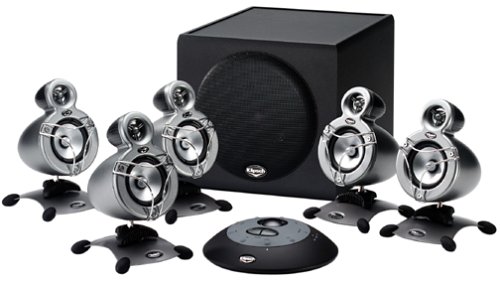
GMXD51Manual |
||||||||||||||||||
| Lamp |
Zbar 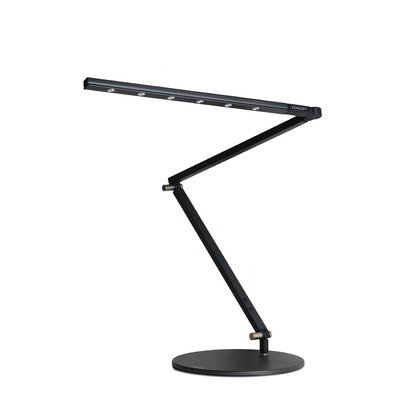
|
||||||||||||||||||
| Network |
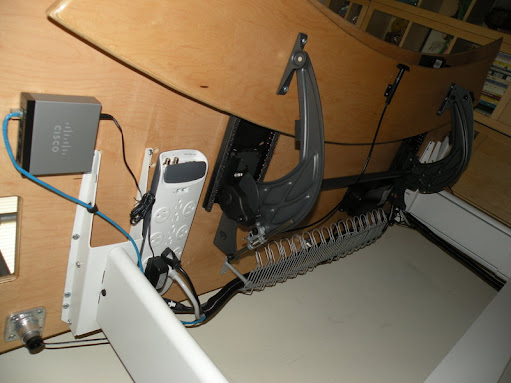
Mounted a Cisco SG100D-05-NA 5 Port Gigabit Switch under the desk

|
||||||||||||||||||
| Rigging |
Using Aluminum schedule 40 pipe (od of 1.05). 5x Hollaender 45-5 Square Floor Flange Aluminum Magnesium 3/4" IPS (1.09" ID) |
||||||||||||||||||
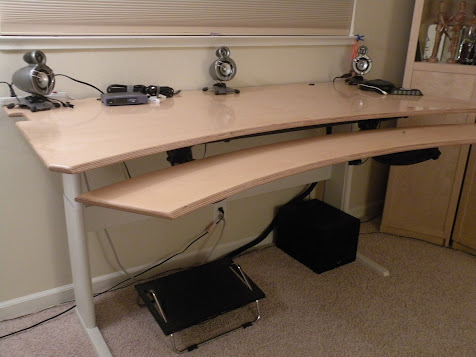
| Current |
|

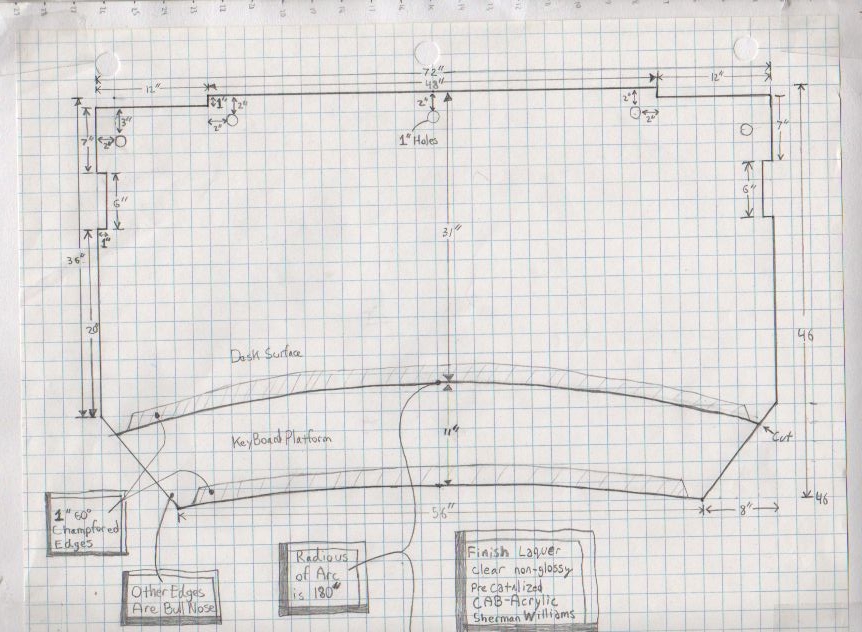 1. Notches at the top and sides are used for cable runs and mounting lamps, allowing the desk to press against the wall.
2. The 5 holes along the top are for 1" round tube rig, used for mounting monitor, lamp, and speaker.
3. The keyboard platform slides under the main surface on tracks, and can be tilted and elivated..
1. Notches at the top and sides are used for cable runs and mounting lamps, allowing the desk to press against the wall.
2. The 5 holes along the top are for 1" round tube rig, used for mounting monitor, lamp, and speaker.
3. The keyboard platform slides under the main surface on tracks, and can be tilted and elivated..

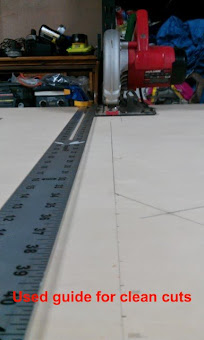
 Next cut the straight edges with a circular saw.
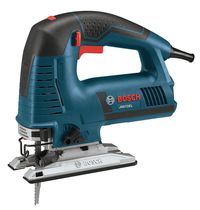
 Next use jigsaw to cut the notches and arcs.
 Next clean up edges with a straight router bit.
 Next round all edges with the quarter round bit on both sides.
 Last, cut the chamfer edge along the arc, leaving the reveal face up.
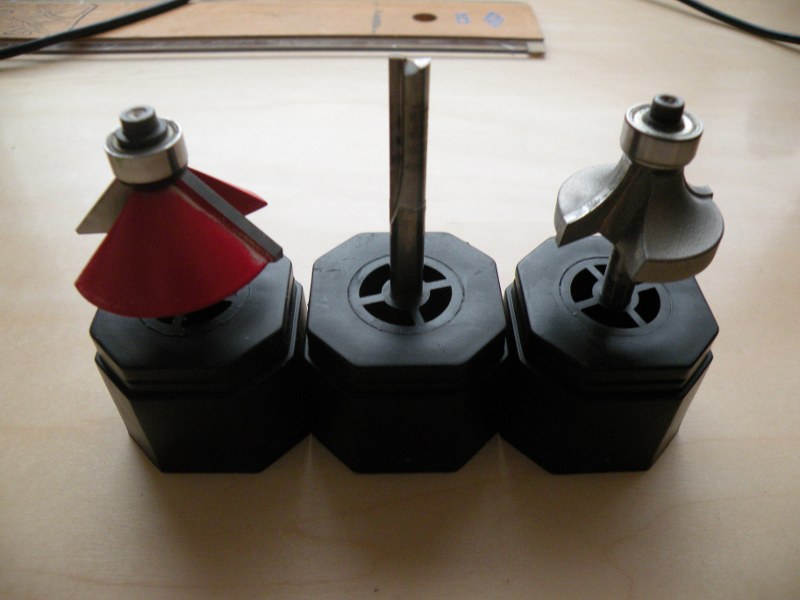
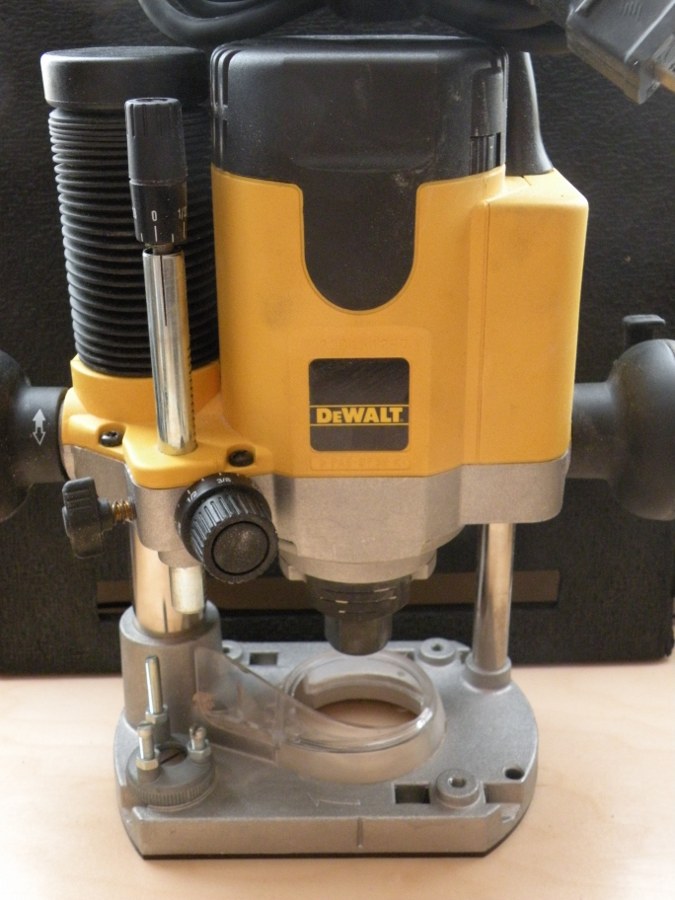
 3 router bits and 2HP router
Left:45 degree Chamfer Bit, 1/4" shank
Center:1/4" Straight Bit, 1/4" shank
Right:5/8" Corner Round, 1/4" shank
3 router bits and 2HP router
Left:45 degree Chamfer Bit, 1/4" shank
Center:1/4" Straight Bit, 1/4" shank
Right:5/8" Corner Round, 1/4" shank
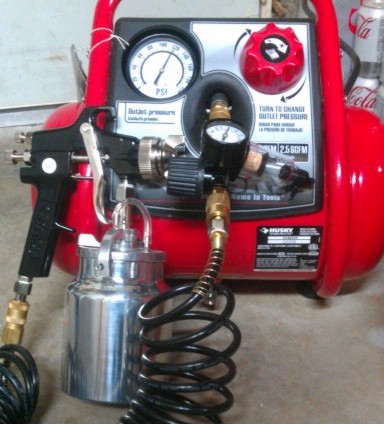 small air compressoer and Harbor Freight Central Pneumatic Paint Spray Gun:
Siphon Tube: 1/4"
Operating PSI: 20-55
Nozzle Size: 0x082"
Nozzle Type: Exterminal Mix
Cup Capacity: 1 Qt
Weight: 2.71 lbs
My Painting Booth:
small air compressoer and Harbor Freight Central Pneumatic Paint Spray Gun:
Siphon Tube: 1/4"
Operating PSI: 20-55
Nozzle Size: 0x082"
Nozzle Type: Exterminal Mix
Cup Capacity: 1 Qt
Weight: 2.71 lbs
My Painting Booth:
 I followed the advice from
  2. Brush on a sealer layer
coat of either Deft
-or-
coat of 70/30 lacquer/thinner
-or-
light linseed oil on a cloth
Let it sit for no more than a few seconds,
Wipe it all off with a paper towel.
Until the wood surface is smooth and dry.
2. Brush on a sealer layer
coat of either Deft
-or-
coat of 70/30 lacquer/thinner
-or-
light linseed oil on a cloth
Let it sit for no more than a few seconds,
Wipe it all off with a paper towel.
Until the wood surface is smooth and dry.
 3. Let sit for several days,
Some wood will start to stand after a few days, and the surface becomes rough.
Sand lightly with 600-grit
4. Spray Gun:
Adjust compressor air-regulator to 30PSI.
Fill up the spray gun with lacquer that has been thinned to no more than about 30% thinner
Practice on scrap to find correct balance viscosity and air pressure.
Up to 50/50 mixture of thinner can be used.
if orange peal, reduce pressure.
if bulshing, add retarding-thinner.
avoid runs "fisheye" but don't try to fix it.
Brush:
1" diameter pony-hair mop brush available from Craft Supplies for about $15.00,
1" wide badger-hair brush from Woodcraft is another good brush for about the same price.
Clean the brush with thinner after using,
wrap it in a piece of grocery-bag paper to keep the dust away.
Soak it in thinner again before using.
Sherwin Williams CAB Acrylic or similar lacquer, thin it with 25% "retarding thinner."
Or, use clear Deft® straight from the can.
5. Apply a wet coat.
Wait three minutes and shoot another wet coat.
Wait three minutes and shoot another wet coat.
Wait at least 2-hours
3. Let sit for several days,
Some wood will start to stand after a few days, and the surface becomes rough.
Sand lightly with 600-grit
4. Spray Gun:
Adjust compressor air-regulator to 30PSI.
Fill up the spray gun with lacquer that has been thinned to no more than about 30% thinner
Practice on scrap to find correct balance viscosity and air pressure.
Up to 50/50 mixture of thinner can be used.
if orange peal, reduce pressure.
if bulshing, add retarding-thinner.
avoid runs "fisheye" but don't try to fix it.
Brush:
1" diameter pony-hair mop brush available from Craft Supplies for about $15.00,
1" wide badger-hair brush from Woodcraft is another good brush for about the same price.
Clean the brush with thinner after using,
wrap it in a piece of grocery-bag paper to keep the dust away.
Soak it in thinner again before using.
Sherwin Williams CAB Acrylic or similar lacquer, thin it with 25% "retarding thinner."
Or, use clear Deft® straight from the can.
5. Apply a wet coat.
Wait three minutes and shoot another wet coat.
Wait three minutes and shoot another wet coat.
Wait at least 2-hours
 6. Repeat step 5 three more times (total of 9 coats).
7. Thin the lacquer to 2/1 ratio of thinner to lacquer.
Apply a wet coat.
Wait three minutes and shoot another wet coat.
Wait at least 2 days.
I brush painted one last really think coat 1:2 lacquer to thinner.
A lot of lacquer did not end up on the desk due to my spray technique(2 gallons should have made a thicker finish).
6. Repeat step 5 three more times (total of 9 coats).
7. Thin the lacquer to 2/1 ratio of thinner to lacquer.
Apply a wet coat.
Wait three minutes and shoot another wet coat.
Wait at least 2 days.
I brush painted one last really think coat 1:2 lacquer to thinner.
A lot of lacquer did not end up on the desk due to my spray technique(2 gallons should have made a thicker finish).
 8. Buff lightly to remove dust, bugs, over-spray, runs, etc.
9. Wet sand with 400, 600, ... to 1000, 1500, and 2000, all lubricated with mineral spirits.
8. Buff lightly to remove dust, bugs, over-spray, runs, etc.
9. Wet sand with 400, 600, ... to 1000, 1500, and 2000, all lubricated with mineral spirits.
 10. Polish with 4F Pumice that is lubricated with mineral spirits.
11. Polish the surface with Rottenstone, lubricated with mineral spirits.
12. Polish one more time with Rottenstone.
NOTE1: The use of mineral spirits reduced the the degassing smell by half.
NOTE2: Origninal directions called for 0000 steel wool, but I did not use it.
10. Polish with 4F Pumice that is lubricated with mineral spirits.
11. Polish the surface with Rottenstone, lubricated with mineral spirits.
12. Polish one more time with Rottenstone.
NOTE1: The use of mineral spirits reduced the the degassing smell by half.
NOTE2: Origninal directions called for 0000 steel wool, but I did not use it.

 If I make another desk, I will used these
 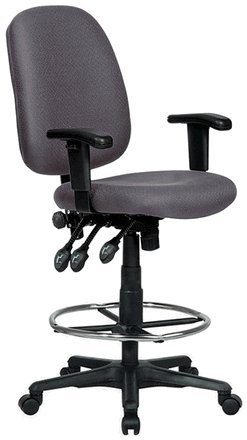 The back is higher than I'd like, but it is a cushy chair. Might look for a stiffer one.
If I where to get a chari today, it would be the Safco Metro Model 3442BL
The back is higher than I'd like, but it is a cushy chair. Might look for a stiffer one.
If I where to get a chari today, it would be the Safco Metro Model 3442BL
 2x Hollaender 30C-5 Nu-Rail Adj. Swivel Aluminum Magnesium 3/4" IPS (1.09" ID)
 4x Hollaender 5E-5 Tee-E Aluminum Magnesium 3/4" IPS (1.09" ID)
 2x Aluminum 6061-T6 Pipe Schedule 40 3/4" Nominal, 0.824" ID, 1.05" OD, 0.11" Wall, 72" Length
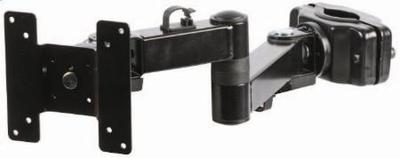
Pole Mount Double Arm Bracket for LCD Monitor VESA 75/100 Works w/Speaker Stands
2x Aluminum 6061-T6 Pipe Schedule 40 3/4" Nominal, 0.824" ID, 1.05" OD, 0.11" Wall, 72" Length
Pole Mount Double Arm Bracket for LCD Monitor VESA 75/100 Works w/Speaker Stands
 Mounted under to keep the surface uncluttered